About a month or so ago, just guessing, I was grilling at my sisters and brother-in-laws.
I was using the wood grill, as I really like the taste of meat that has the wood smoke flavor.
The meat had been cooking for a bit, and I came back to check on it, and I found the shelf below the grill engulfed in flames.
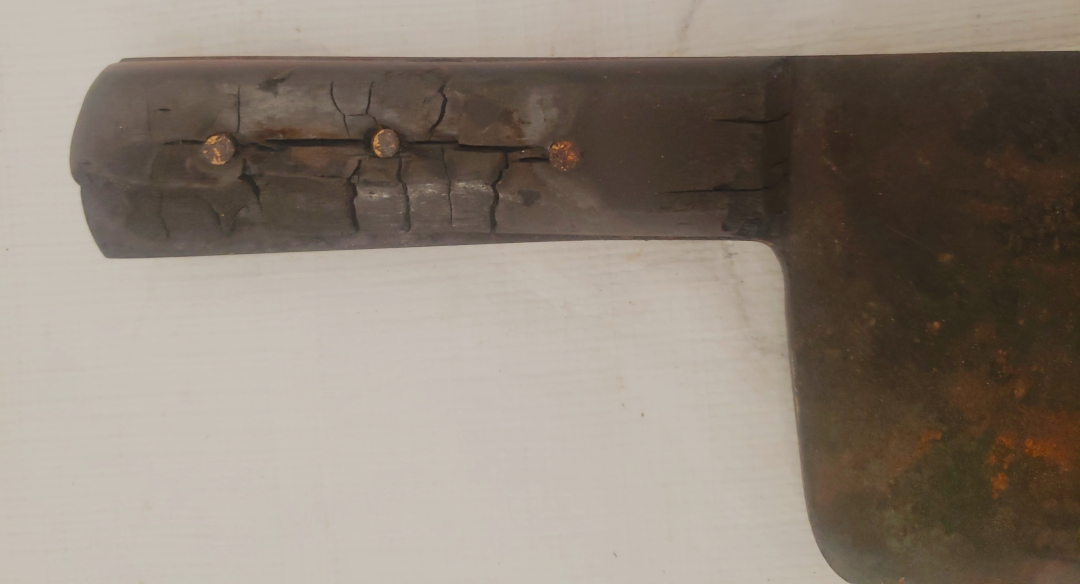
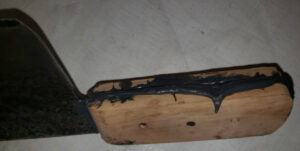
An ember had ignited a few of the fireplace logs stacked there, and and had also burned the knife cleaver handle on one side.
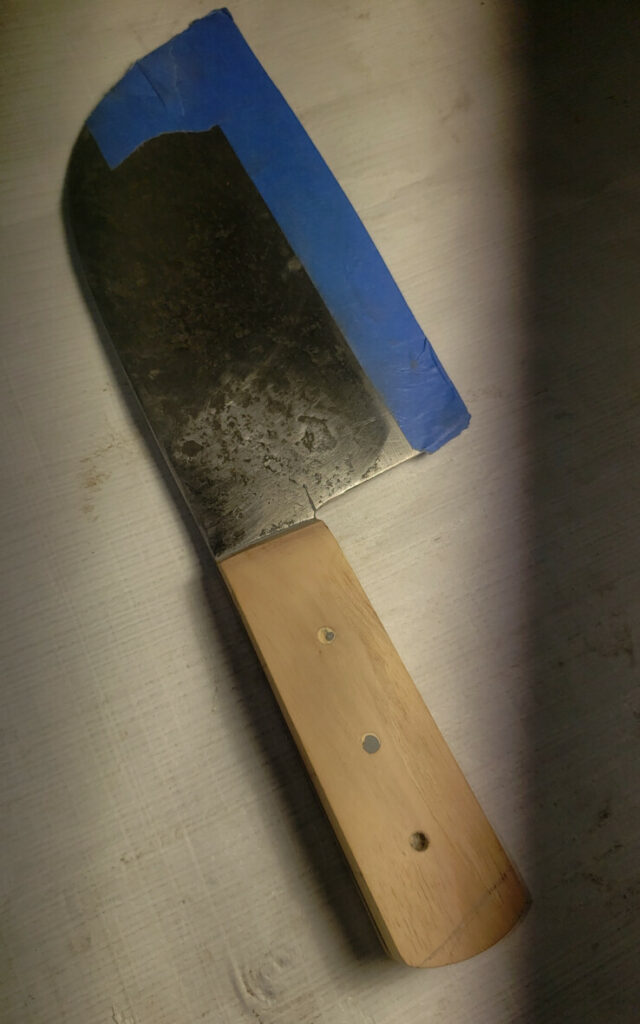
My brother-in-law was very cool about it, but he sure likes this knife. So, I decided to repair this one – and also shine up the blade, make it all look good.
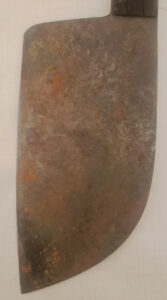
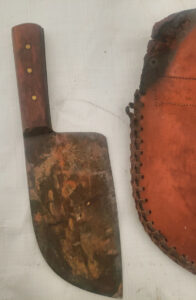
The knife was also very rusty.
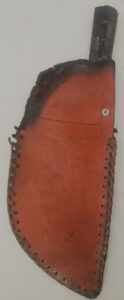
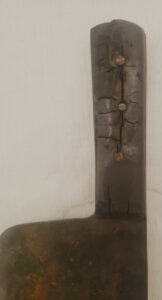
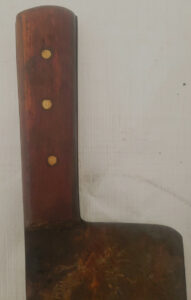
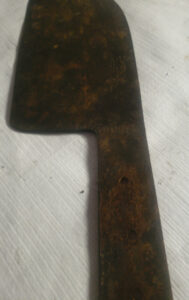
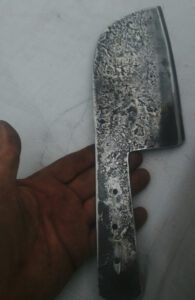
Here is what I started out with: (you can click on the images to see full size, if you want)
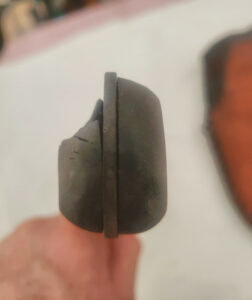
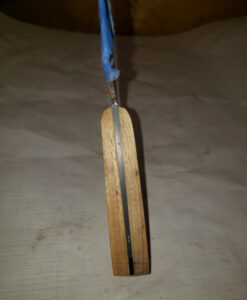
You can see how the old handle had a gap between the metal and the wooden handle. The old handle was held in place only by the pins.
I didn’t have time to work on it from start to finish, so the process took a couple of weeks.
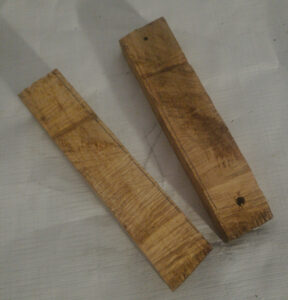
First, I selected from the woodpile an oak log that was dried out, and did not seem to have any cracks from drying out. I cut out two “blanks” to use for the handles.
I had only rudimentary tools to work with. No bandsaw. No table saw.
So I slapped together a little jig to use with the circular saw so I could make these handle blanks flat, as sanding the wood smooth from a chainsaw cut would take FOREVER.
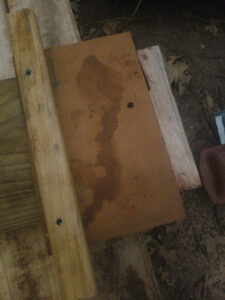
Here is the little jig:
Hypothetically, I’ll only need this to make 4 cuts. You can see the blank there. It is screwed in place in each end with a deeply countersunk screw, and then the guide for the saw to run against is measured and screwed in place.
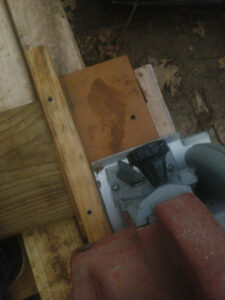
Here is the saw in action (simulated, as I was taking the pictures):
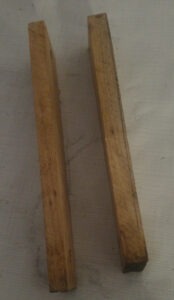
This leaves me two fairly flat blanks to use for the handles. Definitely need some sanding to get perfectly flat!
Next I removed the old handles from the knife. Which looked like this:
After removing the rust and scale:
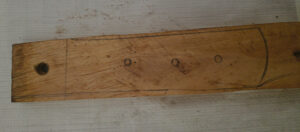
Next I traced the outline of the handle area, leaving more material than needed to sand down to size:
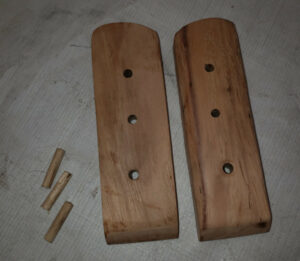
I cut out the rough shape, and also added the front curve on each piece. I also drilled out the wholes, and made some short pins out of dowel material to line up the handles on the steel while the epoxy bonding the handles to the steel cures:
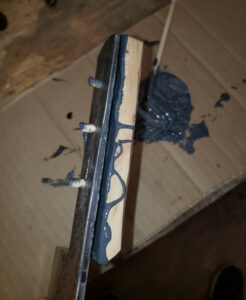
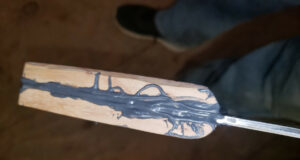
Next, I apply the epoxy to the handles, and assemble:
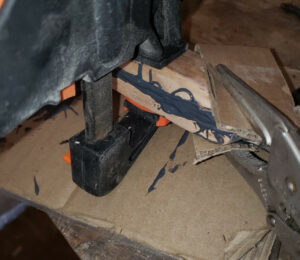
Once the epoxy is everywhere, time to clamp. I only had one clamp, but I had two Vice Grips – so clamping was a success:
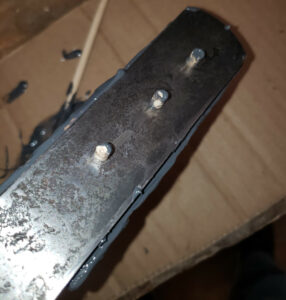
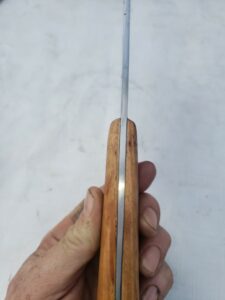
The next day the epoxy was hardened. Clamps removed, and here is the bottom of the handle:
And the top of the handle:
The epoxy squeezed out in front of the handle onto the blade. This required judicious work with a regular file, then finishing with a tiny file. The very last of it was sanded with 2000 grit sandpaper. As this blade does have significant texture, there isn’t any “polish” to mar with such a high grit of sandpaper.
After the epoxy is removed, the knife looks like:
Next is cleanup of the handle to match the profile of the metal:
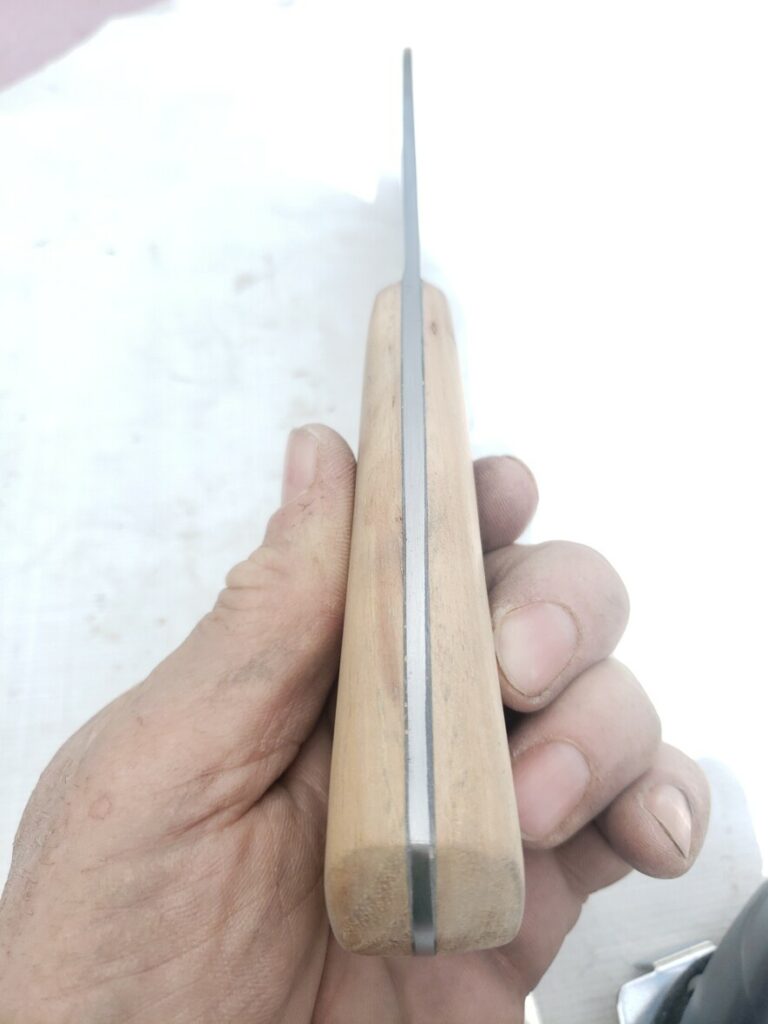
The handle is shaped to my preference. I made the front narrower than the back. I also left a subtle raised area in the very back just assist with grip stability – and also a mental cue that your hand is near the end.
If you take a close look, you can see the epoxy (JB WELD) in the gaps. The metal was forged imperfectly, which is fine. The JB Weld keeps moisture and other contaminants out of the back of the handle (Think blood, etc).
It is almost done, now for the pins.
The original pins were 3/8, but I opted to increase that to 1/4.
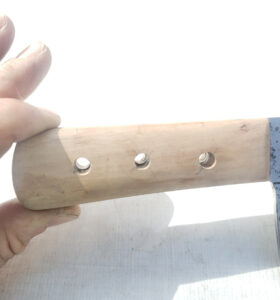
The holes need to be drilled again, and they have been filled by the wooden dowels and epoxy.
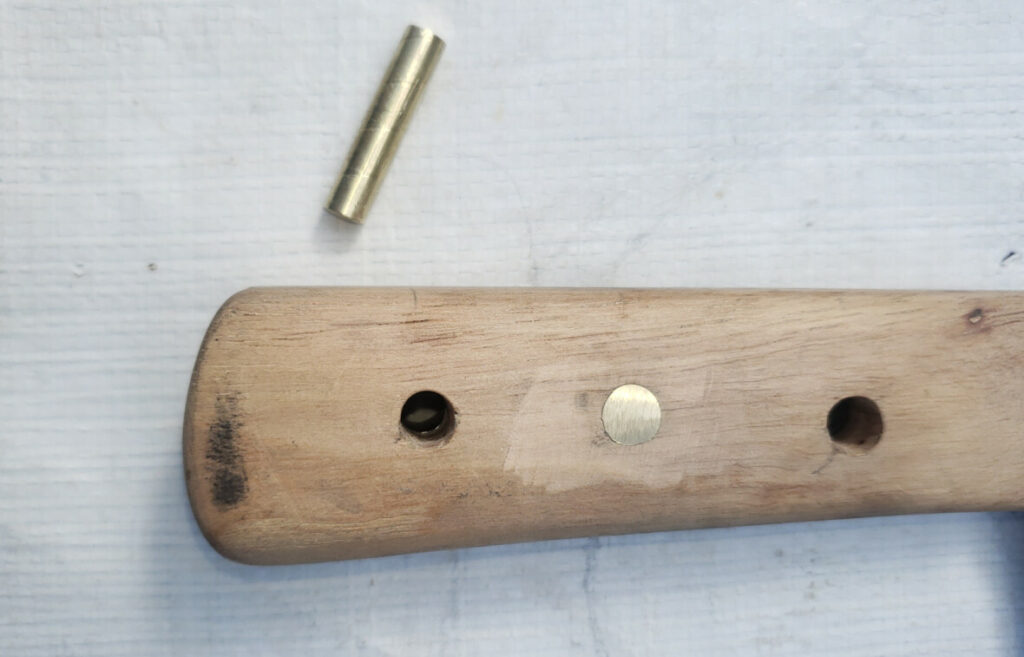
Here is the first brass pin, peened, filed down smooth. Final sanding will be done after all three pins are in.
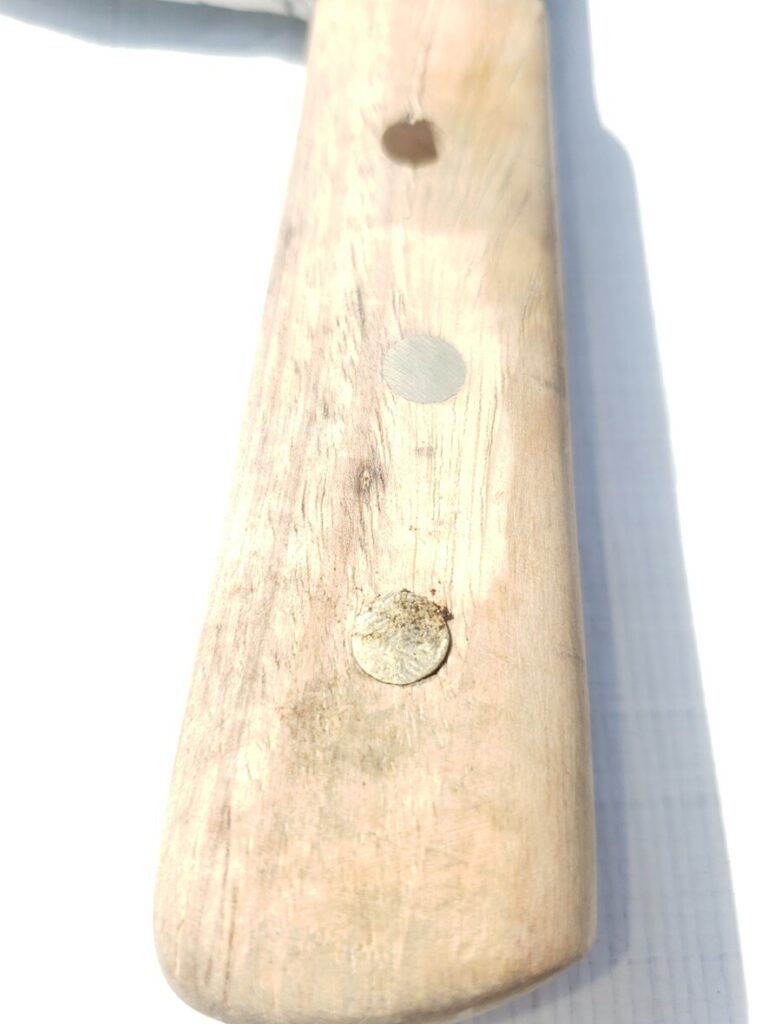
The next pin has been peened (hammered), but not yet filed:
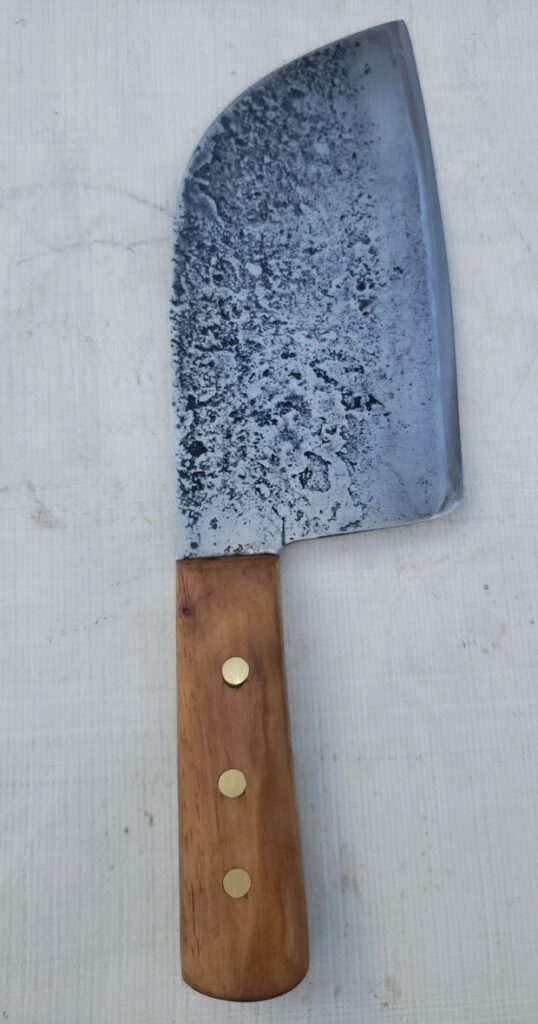
After adding the third pin, all peened and filed, I did a final sand. Then, after about 6 coats of Butchers Block Mineral Oil, here is what it looks like:
Yes, it was a fun project.
Tools? I NEED MORE TOOLS!!!!!!!!!!!!!!!! 🙂

I have a couple, if I can find them for ya to fix in your spare time!
Let’s take a look and see what ya got. 🙂